Secure Checkout
| Ships from USA
| Ships from USA

Harry Potter is one of my very favorite franchises, so naturally, I wanted something that would show off my love for all things wizarding world. Also, I recently discovered that I’m a Slytherin, something I take a lot of pride in. (Hey, we’re not all bad! We’re just . . . ambitious).
When deciding what kind of photo ring to make using these gorgeous 16mm ring blanks from the Craft Making Shop, I immediately knew it was going to be something Potter-esque. As with most of my projects, the idea morphed during the crafting process and I ended up with something totally different from what I originally had planned. I think they turned out amazing, and I’m going to teach you how to make them! This is a very easy craft project that can be done in less than an hour if you’re just making one ring, or a couple if you’re making a whole batch like I did.
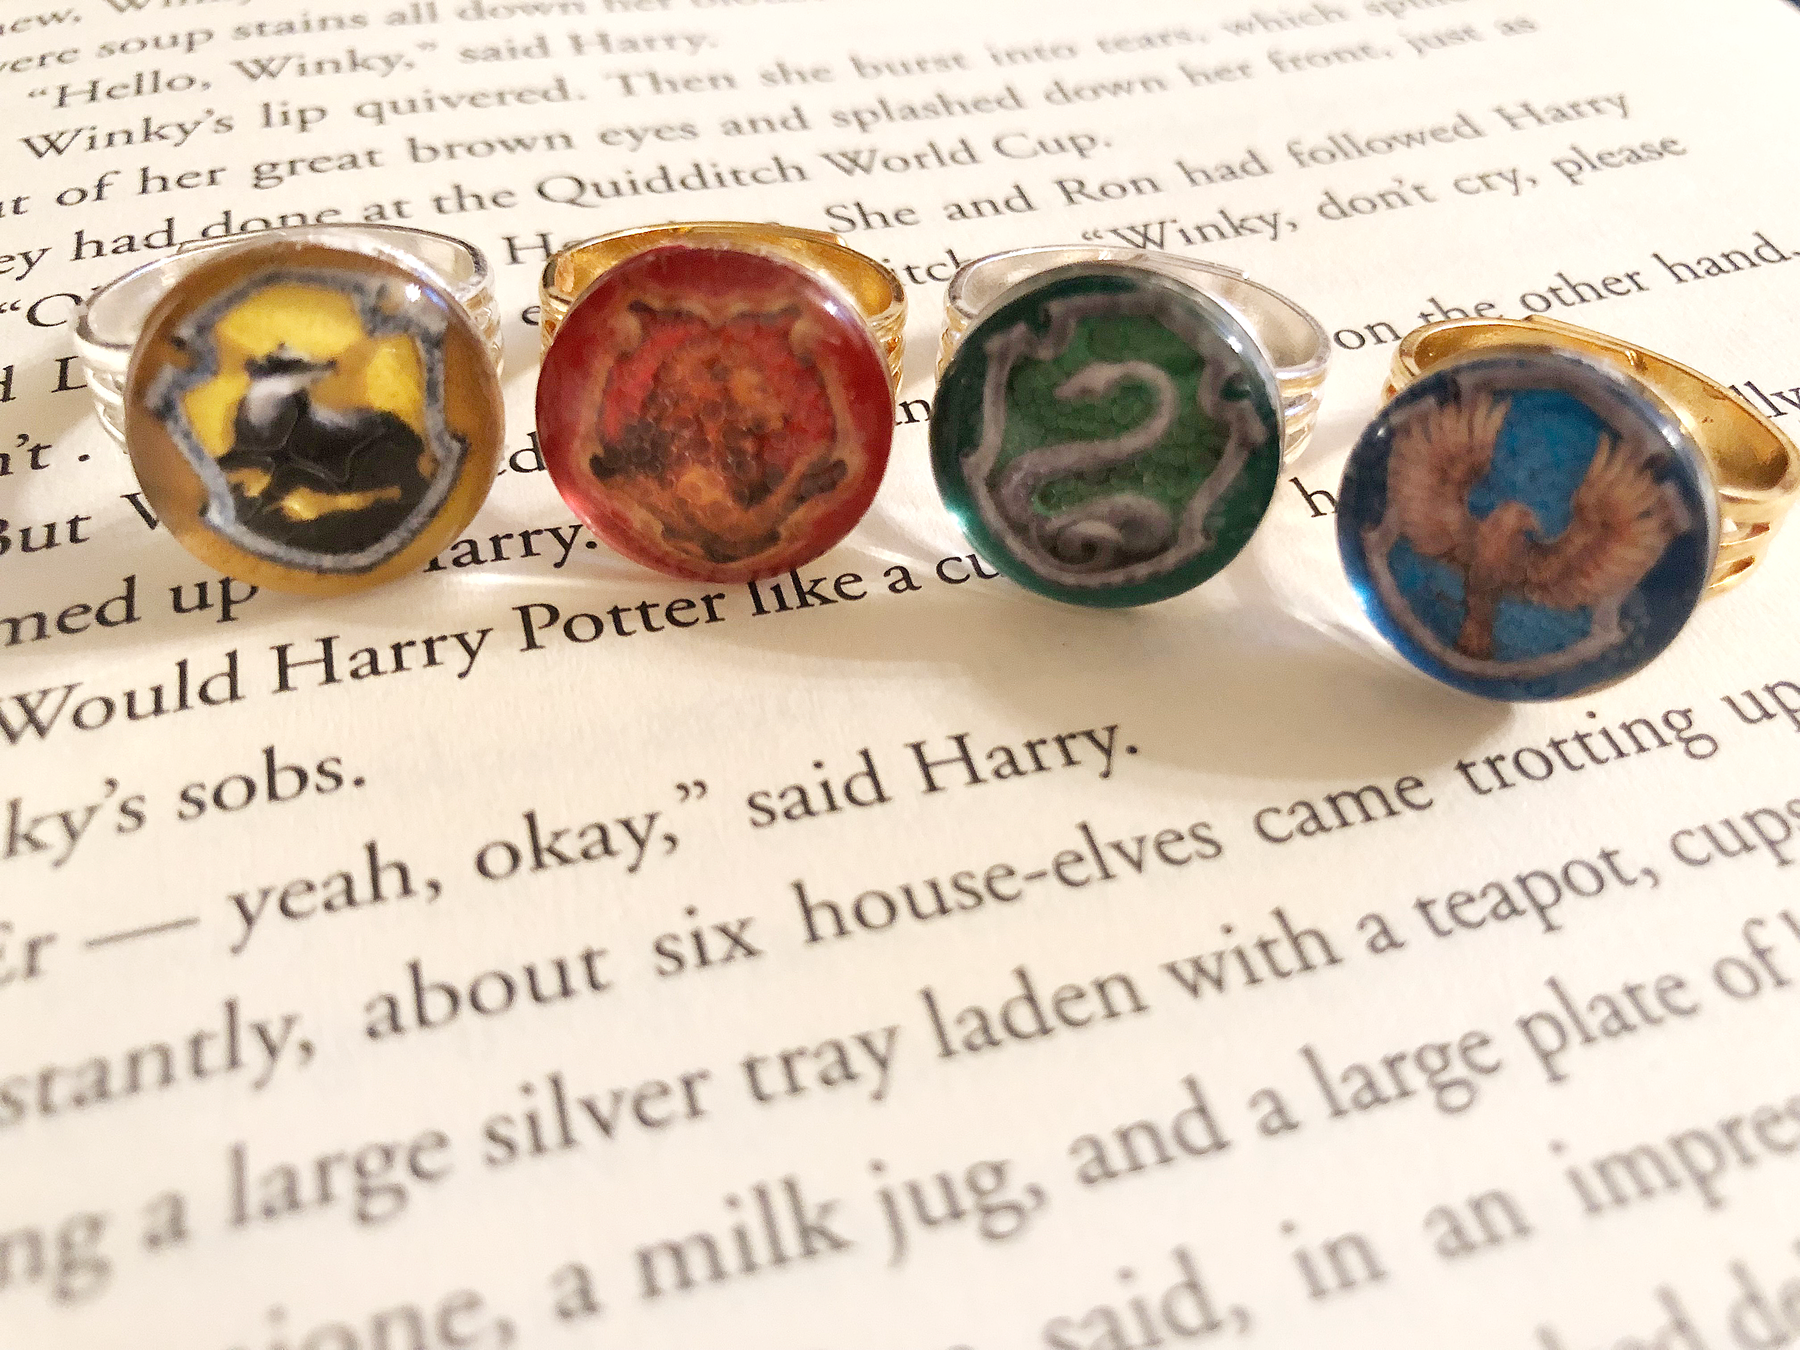
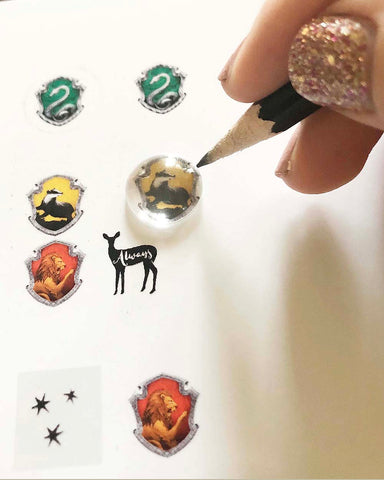
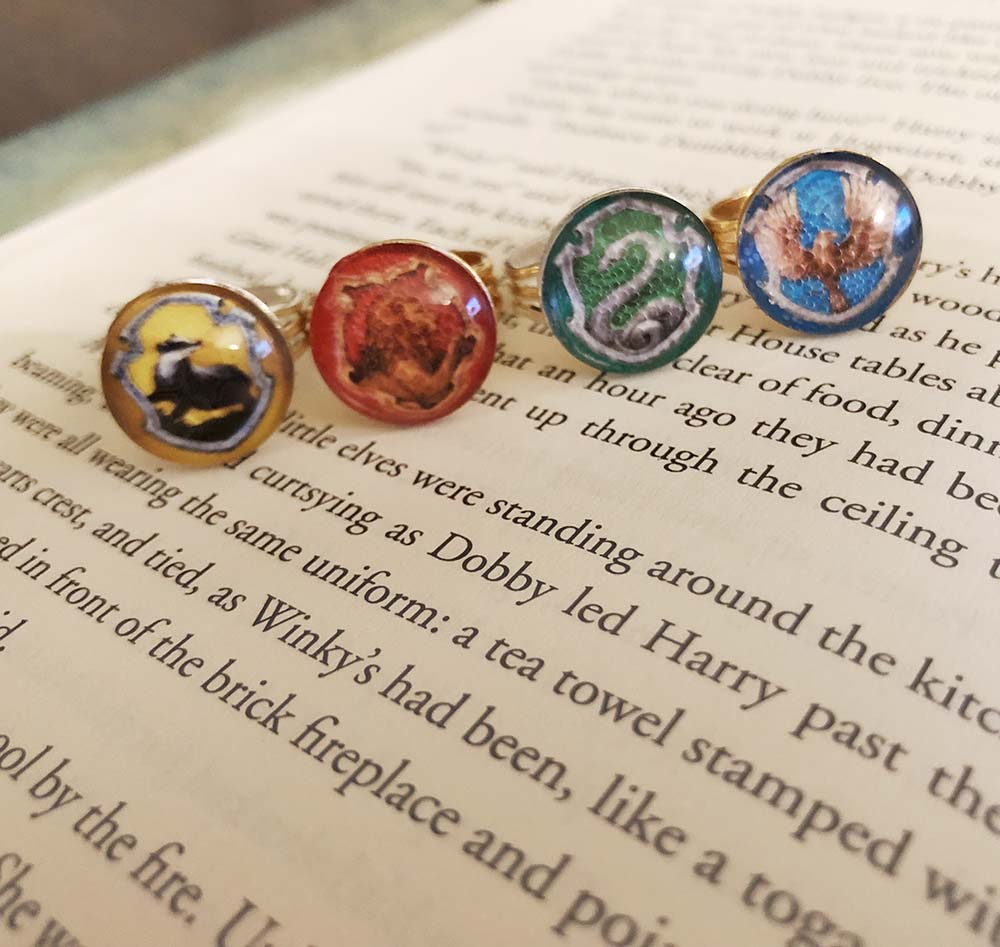
I thought I was going to start out with actual text from the Harry Potter books, but when I saw these stunning images of the house crests, I knew they were it.
Copy the image of your choice to a Word document. There, you’ll need to resize it to ensure that it will fit the 16mm ring. This sounds complex, but it’s actually very easy to do.
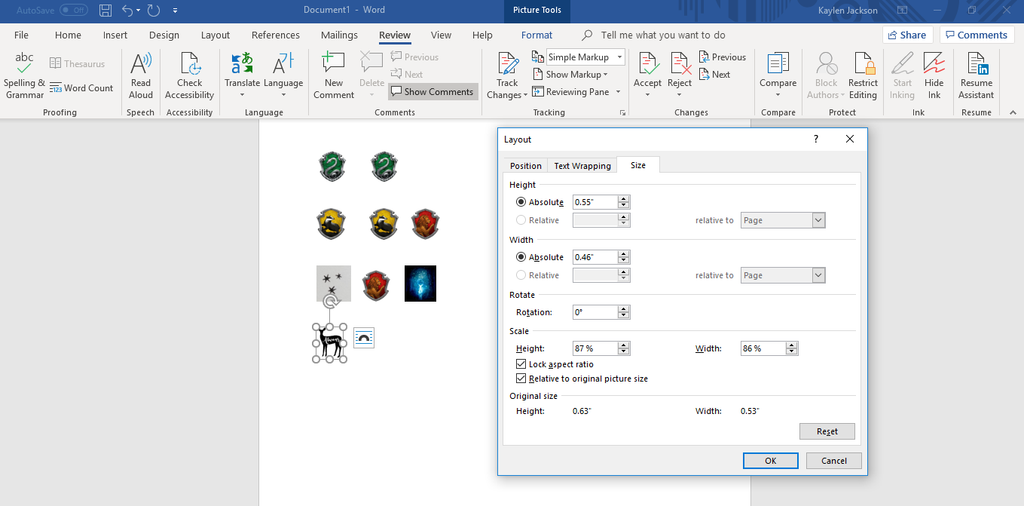
Click on your image and select Layout >> Size. It will show you the size of the image in inches. I used an inch to millimeter calculator online (because math) and found that 16mm is about 0.63 inches. Change the height of your image to 0.63 inches but leave the automatic settings on so Word will adjust your width accordingly. When using a circular image, don’t worry too much about a width that is slightly different from 0.63 inches. What you don’t want to do is manually change both measurements to 0.63 inches – this will skew your photo and it will no longer be proportionate.
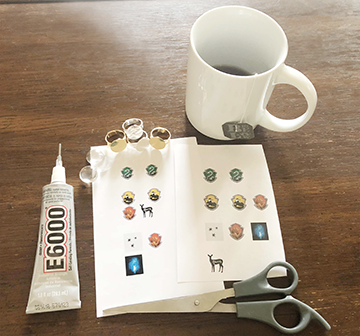
Once your images are resized to your liking, print them out on photo quality paper or traditional paper. For this tutorial, I’m going to show you both. The house crest images are on photo paper because I wanted their colors to be bright and glossy. The three-star image is on traditional paper because I wanted to stain it to look like parchment before mounting it on the ring (more on that later).
Note: I recommend printing extras of each image in case you make mistakes during the trimming process.
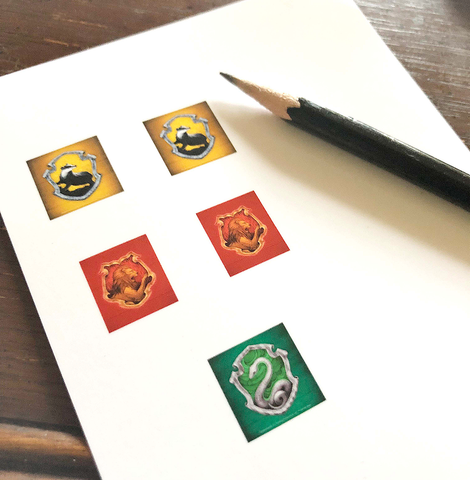
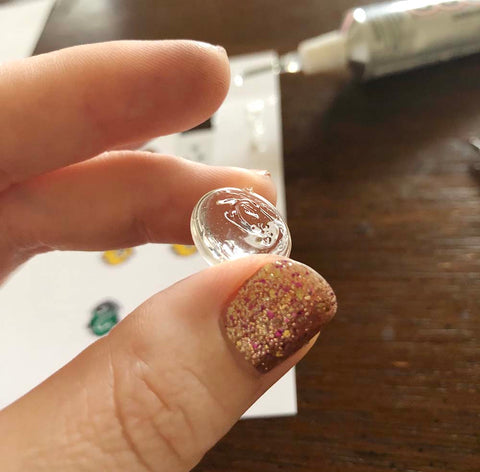
Once your images are printed, lay your glass cabochon over the image to make sure it’s the correct size and your image fits completely within the viewing area. If you need to go back and adjust measurements and reprint, that’s totally fine. Keep adjusting until you get the right size.
With your cabochon over the image, trace around it with a pencil to create a cutting guide.
Your cutting guide will be bigger than what you need, so don’t cut exactly on the line – cut inside of it. Then, lay your piece image down and place the cabochon over it to see where else it needs to be trimmed. Repeat this process several times until the image is trimmed so the edges are slightly inside the cabochon.
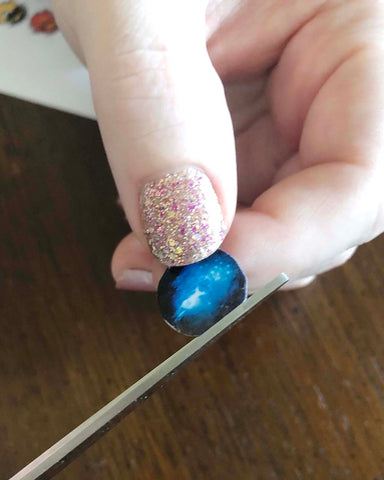
If you cut too large and mount the image anyways, you’ll have to use an X-ACTO knife to clean the paper sticking out around the edges of the finished ring, and even then, it doesn’t look as nice as if you get it right before mounting. The cabochons are forgiving though and will cover up slightly jagged edges or an image that was trimmed just a little too much. You won’t notice unless the image is significantly too small. Ideally, the image should be maybe a millimeter if that from the outer edge of the ring.
If you’ve printed an image on traditional paper and want to make it look like parchment, all you’ll need for this is some brewed black tea.
Lay your image on a paper towel and use your wet tea bag to soak the image. Let dry and soak again if needed to get a darker color.

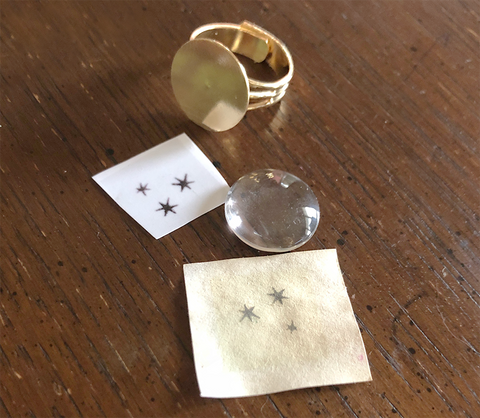
You can see the difference between the paper before and after it was stained with tea – I love the parchment look!
Trim your image to fit the cabochon and you’re ready for the next step.
Once your image is trimmed to fit, you’ll want to mount it on the ring. Place a dab of E6000 glue in the center of the ring and press your image down onto it, with the printed side up.
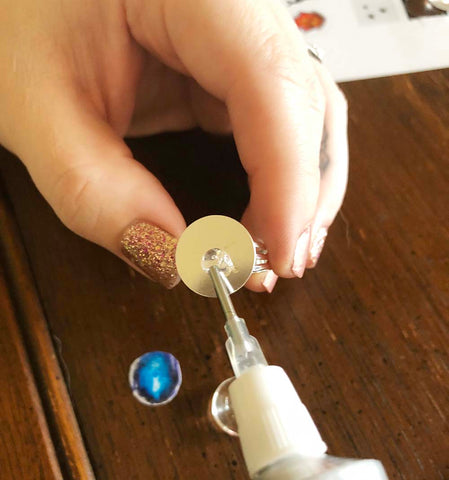
The edges are a little rough, but the rounded edge of the cabochon will help hide those. You won’t even see them in the finished ring! Note again that the image is just inside the edge of the ring. This is ideal for a sleek finished look.
You don’t need to let the glue underneath the image dry before mounting your cabochon – you can do this right away. E6000 takes about 72 hours to cure and is very forgiving, so it’s easy to work with. Messy, but it stays pliable long enough for you to adjust and readjust how your cabochon is centered on the image if needed. (Or if you’re like me and realized that your Hufflepuff badger was facing just a little too far to the North).
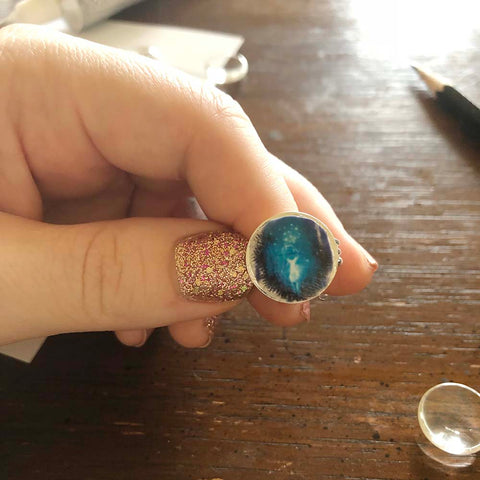
Place a dab of glue on the underside of the cabochon. You want enough glue that when you press the cabochon down, it will reach the edges. However, you’ll want to try to avoid using so much glue that it seeps out from between the metal ring and the glass cabochon. You can wipe the glue away easily, but a little may remain and you’ll have to clean it up with an X-ACTO after the curing process. Not a huge deal, but just another step that you can avoid if you use the right amount of glue. How much that is exactly is not a real science, so you might just need some Felix Felicis before you embark on this step of the project.
Once you think you have the right amount of glue on your cabochon, press the flat side to the top of your ring over the image. Press hard enough that any bubbles are worked out.
Note: I recommend putting a dollop of glue in the center of the cabochon and pressing so the glue flows evenly outwards. I started with a swirl of glue in the center and ended up with air bubbles that detract slightly from my finished product.
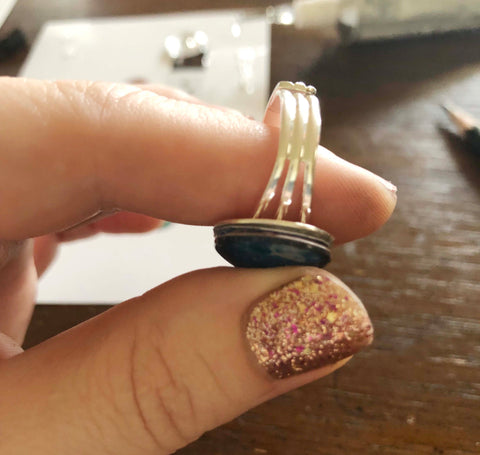
Now, it’s time to wait, which is undoubtedly the hardest part. But it’s well worth it! If possible, find something you can set the rings in to keep them upright while they cure for 72 hours. If you lay them on their side to cure, the cabochons will slide down, leaving your image exposed on the top. Since the glue is malleable, you can re-center the cabochon or and flip the ring. Keep doing this as you notice the cabochon start to slide for the first day or so. Then, the glue will have hardened enough that it won’t slide anymore. However, it’s easier to cure them upright from the start if you can.
Once your rings have cured, they’re ready to wear unless you have some cleanup to do around the edges. An X-ACTO can take off paper edges that are peeking out or glue that has seeped out from the edges, but be careful and never cut towards your body or your fingers. Short scraping motions work best and its tedious work, but it can help you salvage a ring that didn’t quite turn out.
Now you’re done and ready to wear your beautiful Harry Potter inspired photo rings!
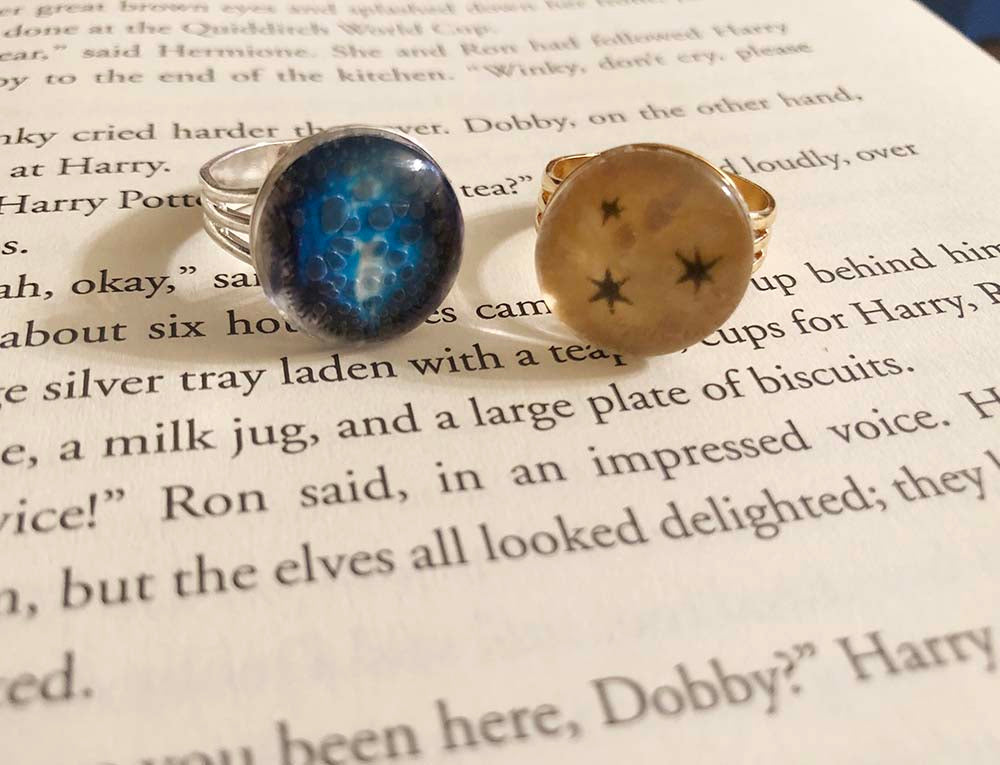
Note: The bubbles in the doe Patronus ring were created by not using enough glue and the glue not being spread evenly from center to edge. Using the dollop-in-the-middle technique and pressing firmly should ensure this is not a problem.
 My husband stole them for a glorious Infinity-Wars inspired Hogwarts gauntlet (a school where only half of the students pass), but eventually I got them back and can represent my house with pride. Ten points to
 Gryffindor Slytherin!

Disclaimer: The rings depicted in this tutorial were crafted for personal wear use and not resale. Please be aware of copyright issues before making and selling jewelry with text or images that may be protected by intellectual property and trademark law.
{"one"=>"Select 2 or 3 items to compare", "other"=>"{{ count }} of 3 items selected"}
Leave a comment